

Installing CCTV cameras with 6 single steps
Get Special Offers Now for Locksmith Services Call Us Now at 02081458426
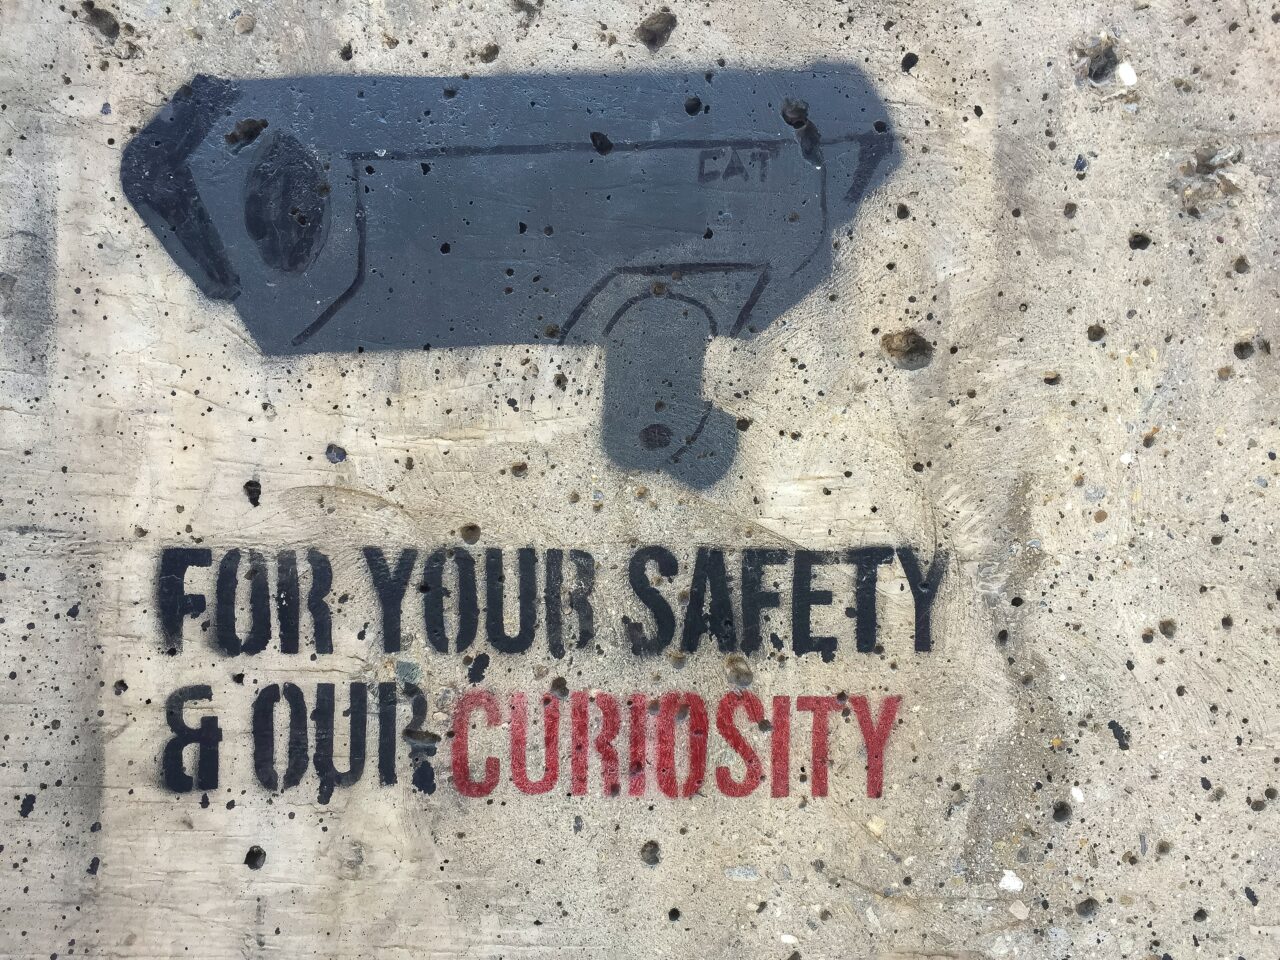
Many people choose to have masters in protection put up cameras, yet some take the duty upon themselves to beef up the protection of their houses and places of work. With that in mind, we’ve got a complete manual for anybody who may be unclear about how to start placing security cameras.
6 steps to installing a CCTV system:
Organizing is essential for your surveillance installations. Produce a protection list and assess your present degree of protection as an initial step. The technique aims to situate deficient locations in your defenses and crucial access points into the properties. Consider this information when choosing a security system’s scale and traits.
The pathways essential for a cabled observation cam framework are normally remembered for the plan. In any case, the sort of assurance framework you introduce could be influenced by the required length of links. Regular DVR arrangements require coaxial links, which can cause picture decay at separations more noteworthy than 90 meters.
1. Decide on the location and prepare the installation
Visual monitoring devices should be angled to record the requisite observation region while avoiding intensely lit zones like panes, access points, or illuminators. Though suitable luminosity is necessary, excess light risks weakening pictorial quality. Due to this, the installation of cameras and video recording units is extremely significant when establishing a surveillance system. It assists in maximizing coverage through devices while also decreasing cable distance.
When choosing where to situate your domestic or commercial security cameras, find a vantage point from which you can notice all potential access points. They also necessitate access to power not far off. Opt for elevated positions so that the cameras won’t be brought down.
Put the visual recorder where intended, then note spots for boring using a marker. Drill starter holes and gently twist in the screw decor. Verify the visual recorder is safely fixed in place. Connect the visual recorder’s energy line to a wall socket.
2. Run the cables to the camera sites
Once the boring was done, making spaces for the lenses, the next part included guiding the wires to where they must go; openings might need making in the walls or roofs if important. Also worth mentioning is that places pre-installed for twisted pair cables may not always be there, so performing the pressing yourself could be what it’s called for.
3. Connect the cables to the DVR
Create a plan for how you’ll route the cables connecting the cameras to the DVR. Use pre-terminated cables, connecting one from each camera’s location to the DVR’s central point. It’s advisable to position the male power plug on the camera’s side, as power outlets are commonly located on the control panels’ sides. Connect each camera’s black BNC cable plug to the corresponding video input socket on the DVR.
As for the placement of the DVR box, the choice is yours. You can mount it on a wall since most DVRs have mounting holes on the back. Alternatively, you can place it on a flat surface like a desk or table, similar to how you would position wall outlets or surge protectors.
4. Mount and install the cameras
First, link the camera to the end of the wire emerging from the hole. Then, push any extra wire back into the hole. Take your electric screwdriver and use the screws supplied to attach the camera to your structure. Once the camera is installed, you can loosen the change screws to adjust the position rapidly. After making these preliminary changes, tighten the screws once more when you must define exactly where the camera is placed.
5. Switch on the power
Linking the wires to the device can commence once you have successfully guided the other conclusion of the wires all through your house or work. Connect the outside screen, keyboard, and mouse to the box, with each wire going into its corresponding port. An outside portable drive can be kept forever connected if you ever need to move footage. Important details to remember are that the device and the cameras share a usual power source. Connect the box, monitor, and camera to the main electricity.
6. Set up the DVR
The conclusion of this stage finishes the CCTV setup process. To end preparing your DVR, consult the guide for additional direction. Sometimes, the guide will tell you to install the hard drive before being able to use it, while in others, the hard drive will already be fitted, and you may begin straight away.
Frequently Asked Questions
What are the key considerations before installing a CCTV system for my home or business?
It’s important to plan carefully before installing a CCTV system. Create a security checklist to evaluate your current security level, identify weak spots, and pinpoint vital entry points on your premises. This data will help you determine the size and features needed for your security system.
What cables should I use for a wired CCTV security camera system?
The type of cables you use for a wired CCTV system is typically included in the package. However, for standard DVR setups, coaxial cables are commonly used. It’s important to note that coaxial cables may cause image degradation at distances greater than 90 meters, so consider the required cable length carefully.
How should I position and install CCTV cameras for optimal security coverage?
When positioning CCTV cameras, ensure they capture the necessary areas without focusing on bright spots like windows or lights. Avoid excessive lighting, which can affect image quality. Cameras and the DVR placement are crucial for maximizing coverage and minimizing cable length. Choose elevated spots to prevent tampering.
What steps are involved in setting up a CCTV system after installation?
After physically installing the cameras and connecting the cables, you’ll need to:
Connect the cables to the DVR, ensuring proper routing.
Connect an external monitor, keyboard, and mouse to the DVR.
Connect the DVR, monitor, and cameras to a power source.
Follow the manufacturer’s instructions to set up the DVR, which may include initializing the hard drive if required.
If you require further assistance with CCTV installations, don’t hesitate to contact ASG for professional support.
Please note that these answers are based on the information provided in the online guide for installing CCTV cameras by ASG.